


water filter pressure relief valve leaking
Why Is My Well Water Pressure Relief Valve Leaking?

A leaking relief valve on a well-water home is not a “water filter problem” until pressure, heat, and plumbing safety are checked first. Sediment, iron, scale, or a clogged cartridge can make the situation worse, but a dripping relief valve is a warning sign that deserves a slower diagnosis.
This topic comes up more often in summer because well pumps run harder, irrigation demand rises, and homeowners notice more noise around tanks, softeners, filters, and water heaters. The right move is not to add another filter blindly. The right move is to find out why the valve opened.
First: Name the Valve You Are Looking At
Homeowners use “relief valve” to describe several different parts. On a water heater, the temperature and pressure relief valve is a safety device. On a well system, you may also see a pressure relief valve near the pressure tank, pump equipment, filter assembly, or treatment skid. Some filter housings and softeners have bypasses or drains that can also be mistaken for relief valves.
That distinction matters. A water-heater relief valve can leak because of heat expansion, high pressure, a failed valve, or a tank issue. A well-system pressure relief valve can leak because pressure is climbing above the valve’s set point, the valve seat has debris, a pressure switch is misbehaving, or a closed valve is trapping pressure.
Do not cap, plug, or disable a relief valve to stop the drip. That removes the safety function and can create a much bigger problem. If the valve is on a water heater, treat it as a plumbing safety issue. If the valve is on the well line, treat it as a pressure-control issue until proven otherwise.
Before touching anything, take a photo, identify the equipment, and note when the drip happens: only during pump cycles, only after hot water use, only after a filter regenerates, or all day.
Why Well-Water Homes Make This More Confusing
Private wells add more variables than city water. A city-water home usually has utility pressure coming in from the street. A well-water home has a pump, pressure switch, pressure tank, check valves, treatment equipment, and sometimes irrigation branches. A small change in one part can show up somewhere else.
The EPA notes that private well owners are responsible for testing, maintaining, and protecting their wells. That includes water quality, but it also means the homeowner has more responsibility for the equipment around the well system.
A relief valve can start dripping after a filter change, after a new softener or conditioner is installed, after a pressure tank loses air charge, after a pump switch sticks, or after sediment moves through the line. The timing is the clue.
If a valve started leaking right after someone added a filter, do not assume the filter is bad. It may be installed in the wrong order, undersized for flow, missing a bypass position, clogged with well sediment, or sitting downstream of a pressure problem that already existed.
Common Causes of a Leaking Relief Valve
High system pressure is the first suspect. A well pressure switch should turn the pump on and off within a set range. If the switch sticks, the gauge is wrong, the tank has lost air charge, or the pump keeps running, pressure can climb and open the valve. A simple pressure gauge reading during a pump cycle can tell you a lot.
Thermal expansion is the second suspect when the leak is near a water heater. Heated water expands. If the plumbing system has a check valve, pressure-reducing valve, backflow device, or other closed path, that expansion may have nowhere to go. The relief valve may drip after hot water use even if the well side looks normal.
Debris on the valve seat is another common issue. Well water can carry sand, iron particles, scale, or other sediment. A small piece of debris can keep a relief valve from reseating fully. That does not mean the valve should be ignored. It means the valve may be both a symptom and a part that needs replacement.
A clogged filter can also contribute. If a cartridge loads with sediment and the pump continues to work against restriction, pressure differences can appear across the system. Some filters have pressure-relief buttons, gauges, or bypass valves. Those parts help maintenance, but they do not replace proper pressure control.
A failed valve is possible too. Relief valves age. Springs weaken. Seats wear. Mineral buildup can affect sealing. If the valve has opened repeatedly, replacement by a qualified plumber may be the safe answer after pressure is checked.
What Not to Do When It Starts Dripping
Do not plug the outlet. A relief valve needs a safe discharge path. Plugging it is the worst fix because it hides the symptom while removing the protection.
Do not keep lifting and snapping the test lever as a routine “cleaning” method. On an old valve, that can make a small leak worse. If a licensed plumber tells you to test or replace it, follow that guidance. Randomly exercising it because someone online suggested it is not a plan.
Do not add a tighter filter to “catch everything” before you know the pressure story. Smaller-micron cartridges can clog faster on wells with sediment. That may protect fixtures, but it can also create maintenance issues if it is the wrong first stage.
Do not assume a water softener fixes iron, sediment, pressure, sulfur odor, and safety valves. A softener or salt-free conditioner is a hardness tool. Well water often needs testing first because iron, manganese, tannins, sediment, sulfur odor, pH, bacteria, and hardness are different problems.
Do not ignore hot-versus-cold clues. If the drip only follows hot water use, the water heater and expansion path deserve attention. If it happens while the well pump runs, focus upstream on pump controls, tank charge, and pressure settings.
The Simple Diagnostic Order
Start with the gauge. Watch the pressure gauge while water runs and while the pump cycles. Does the pressure climb above the normal shutoff point? Does the pump short-cycle? Does pressure rise after hot water use? Write the numbers down and share them with the plumber or well contractor.
Next, isolate timing. A constant drip points one direction. A drip only during regeneration, backwash, irrigation, or pump shutoff points another direction. If the system has a softener, carbon filter, sediment filter, or other treatment equipment, note whether the leak follows one of those cycles.
Then check cartridge and bypass position. If a cartridge was recently changed, verify it is seated correctly, the housing is not cross-threaded, and all valves were reopened in the right order. If there are gauges before and after a filter, a big pressure drop can show a clogged or undersized stage.
After that, test the water. Pressure problems and water-quality problems are not the same, but well water can foul equipment. If sand, iron, or scale keeps reaching valves and fixtures, treatment may be needed after the pressure issue is fixed.
Finally, call the right person. A plumber or well contractor should handle relief valves, pressure tanks, pressure switches, and water heaters. A water-treatment company should size filtration after the plumbing is safe and the water test is known.
Where Water Treatment Fits After the Safety Check
Water treatment should not be the first tool used to stop an active relief-valve leak. It comes after pressure control, valve condition, and water-heater expansion are understood.
Once the plumbing side is safe, the water test can guide the treatment plan. Sediment may call for a prefilter. Chlorine is usually a city-water issue, not a private-well issue, unless treatment has been added. Iron staining, sulfur odor, manganese, tannins, pH, hardness, and bacteria indicators each need their own lane.
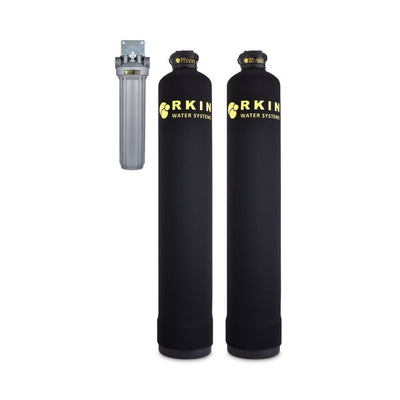
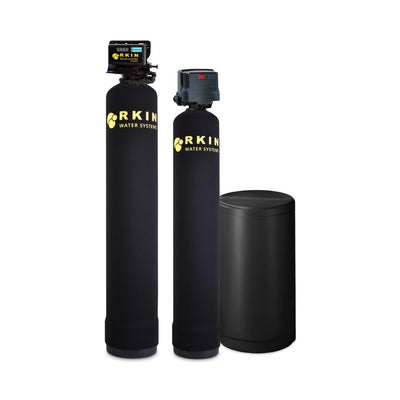
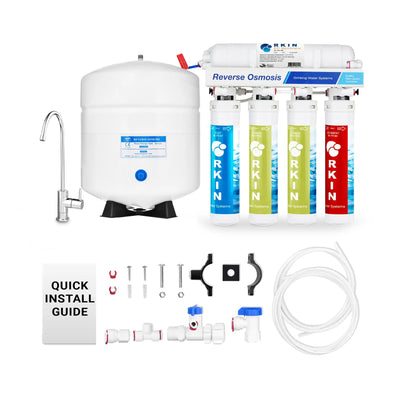
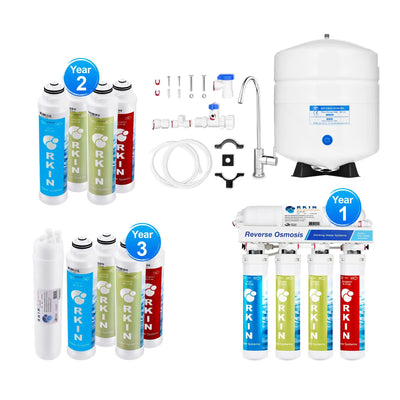
For many well homes, the smartest setup is staged. A sediment stage protects downstream equipment. A well-water system addresses the specific lab findings. A conditioner or softener strategy handles scale if hardness is the concern. Drinking-water RO at the sink or counter handles the water you drink and cook with.
That is why the RKIN whole house water treatment collection is best approached with a water report in hand. We do not want you buying the biggest system because a valve leaked. We want the pressure issue fixed, the water tested, and the treatment matched to the actual well profile.
In my house, I would fix the pressure or valve issue first. Then I would test the well water and build the smallest treatment setup that solves the confirmed problems.
Well-Water Clues That Point Beyond the Valve
Look for grit in faucet aerators, washing-machine screens, toilet tanks, or filter bowls. That points toward sediment entering the home. A relief valve that will not reseat because of debris may be one part of a bigger sediment problem.
Look for orange or brown staining. That can point toward iron or manganese, but testing should confirm the form and level before treatment is chosen. Different iron problems need different approaches.
Look for rotten-egg odor. That can come from several sources, including water heater conditions and well water chemistry. Hot-only odor is a different clue than hot-and-cold odor throughout the home.
Look for scale on fixtures, glass, and water heaters. Hardness does not usually make a relief valve leak by itself, but mineral buildup can shorten equipment life and make maintenance harder.
Look for pressure changes after filter installation. If the house felt fine before a new cartridge and now pressure swings or leaks appear, the filter may be too restrictive, installed in the wrong position, or already clogged by well sediment.
None of these clues replace a test. They help you ask better questions before buying equipment.
Frequently Asked Questions
Why is my well water pressure relief valve leaking?
Common reasons include high pressure, a failed valve, debris on the valve seat, a pressure switch problem, a pressure tank issue, or thermal expansion if the valve is near the water heater. Identify which valve is leaking before deciding what to fix.
Can a clogged water filter make a relief valve leak?
It can contribute to pressure problems in some setups, especially if the cartridge is undersized, clogged with sediment, or installed without proper bypass and gauges. A clogged filter is not the only cause, so check pressure controls and valve condition too.
Is it safe to plug a dripping relief valve?
No. Do not plug or cap a relief valve. It is there to release pressure. If it is dripping, identify the cause and replace or repair the right part instead of disabling the safety function.
Should I call a plumber or a water-treatment company first?
For an active relief-valve leak, call a plumber or well contractor first. Once pressure, expansion, and valve condition are safe, use a water test to decide whether sediment, iron, hardness, sulfur odor, or other well-water issues need treatment.
Do I need a whole-house filter for well water?
Maybe. A whole-house filter can be a good fit when testing confirms sediment, iron, odor, hardness, or other well-water problems. It should not be chosen only because a valve leaked. Fix the pressure issue first, then match treatment to the water report.
Ready to Diagnose the Water After the Leak Is Safe?
A leaking relief valve deserves a plumbing-first response. Once pressure and safety are handled, the water report tells you whether sediment, iron, hardness, sulfur odor, or another well-water issue is affecting the home.
Start with the RKIN whole house water treatment collection when you are ready to match treatment to the actual water test, not guess from one symptom.





0 comments