
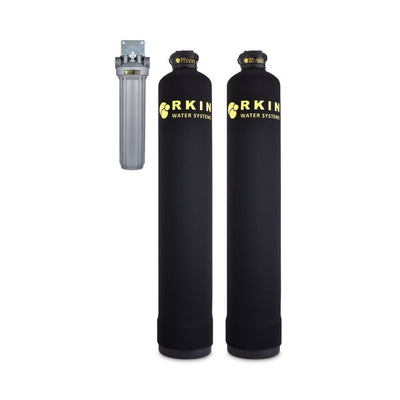



onlisoft installation
Does a Salt-Free Conditioner Need a Drain or Power?

Short answer: the RKIN OnliSoft does not need a regeneration drain, electrical outlet, or salt. It still needs correctly sized plumbing, a working bypass, an initial 48-hour media soak, and water conditions within the system's stated operating range.
What OnliSoft Does Not Need
A salt-free conditioner operates differently from a salt-regenerated ion-exchange softener. OnliSoft does not run a regeneration cycle, so it does not send regeneration water to a drain. It also does not need an electrical control head or a brine tank filled with salt.
That simpler utility setup is useful when a mechanical room has no nearby outlet or drain. It does not make installation automatic. The main line still has to be cut and connected correctly, the unit needs a stable location, and the home needs a bypass so water can be isolated during service.
The current OnliSoft product page and RKIN’s OnliSoft maintenance guide, both accessed September 23, 2026, are the sources for the no-drain, no-power, no-salt, soak-time, and operating details used here. Check the current manual for your exact model before work begins.
Conditioner and Softener Requirements Are Different
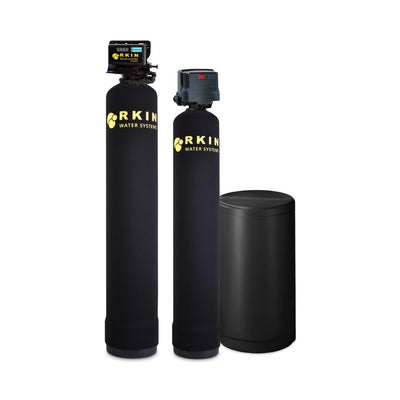
A conventional salt-based softener normally needs a drain for regeneration, an outlet for its control valve, and room for a brine tank. A salt-free conditioner does not exchange hardness minerals for sodium. Its job is scale control, not hardness removal, so the installation and the result are different.
That distinction matters when reviewing certifications. NSF's explanation of NSF/ANSI 44, updated March 8, 2025, applies that standard to salt-regenerated cation-exchange softeners. Do not treat a salt-free conditioner as a certified softener unless the exact model listing says so.
If the real decision is which technology fits the water, read the water softener versus salt-free conditioner guide. This page stays focused on installation readiness.
Plan for the 48-Hour Media Soak
The conditioning media needs a full 48-hour soak before the system goes into normal service. That is not a quick flush. It changes the project schedule because the tank must be filled and allowed to sit before final startup.
Confirm how the installer will isolate the tank during that period and whether the home will use bypassed water. Write the soak start and finish times on the installation checklist. Rushing this step can create confusion later because the system was never started the way its instructions required.
Me personally, I would schedule the soak before the day the household expects treated water. That keeps the installer from being pressured to shorten a required startup step.
Check Pressure, Temperature, pH, and Flow
A whole-house unit has to work with the home's plumbing. Verify the incoming pressure, water temperature, pH, main-line size, and peak flow before selecting the model. A tank that is too small for the home's simultaneous demand can turn an otherwise clean installation into a weak-shower complaint.
Count the fixtures that commonly run together. A shower, washing machine, dishwasher, and outside faucet can create a very different demand than one sink. Use the model's current specifications rather than guessing from bedroom count alone.
A pressure regulator, booster pump, private-well pressure tank, or unusual pipe size deserves extra review. The conditioner cannot correct an upstream pressure problem, and adding equipment without measuring flow can make that problem more noticeable.
The Sediment Prefilter Still Needs Service
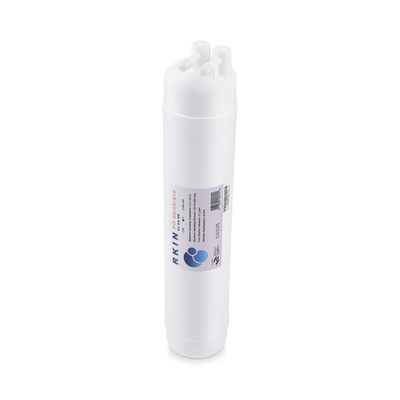
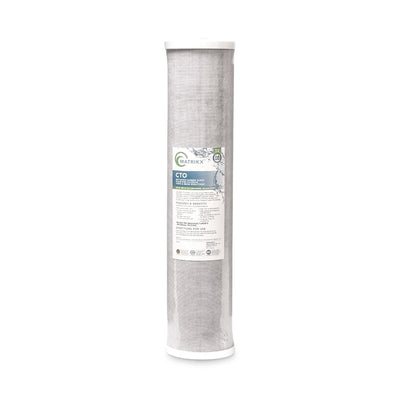
No salt and no regeneration do not mean no maintenance. The sediment prefilter catches particles before they reach the conditioning tank. Its cartridge is a service item, and its useful life depends on water quality and household demand.
Install the prefilter where the housing can be opened without fighting a wall, pipe, or appliance. Leave enough clearance for the sump, use shutoff valves that are easy to reach, and record the starting pressure. A noticeable pressure drop can be a better replacement clue than a date alone.
- Record the installation date and cartridge model.
- Check for leaks after the first full-pressure cycle.
- Compare pressure before and after the prefilter.
- Keep one correct replacement cartridge on hand.
Private Wells Need a Water Test First
Well water can carry iron, manganese, sulfur odor, sediment, or chemistry outside the conditioner's operating range. A salt-free conditioner is not a substitute for a lab result and should not be placed ahead of untreated problems that can foul the media or prefilter.
Use a certified lab and share the report before equipment is selected. If the well has visible sediment, recurring odor, or staining, the treatment order may need a dedicated first stage. The right sequence protects the conditioner and keeps the homeowner from expecting one tank to solve unrelated problems.
When the plumbing layout or well result is unclear, use the RKIN contact page and send the water report, main-line size, pressure, and fixture count.
Installation-Readiness Checklist
- Confirm the exact OnliSoft model and current manual.
- Verify main-line size, peak flow, pressure, temperature, and pH.
- Plan a stable tank location with service clearance and a bypass.
- Schedule the full 48-hour media soak.
- Place the sediment prefilter where cartridge changes are practical.
- Test private-well water and resolve upstream iron, sulfur, or sediment needs first.
- Use a qualified plumber when the main-line change is outside your experience.
Plan the Plumbing and Service Space
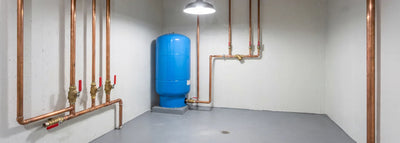
A no-drain system still becomes part of the home's main plumbing. Decide where the inlet, outlet, and bypass will sit before ordering. The tank must stand upright on a stable surface, and the prefilter housing needs enough clearance below it for a full cartridge change. A location that fits the tank but traps the housing against the floor is not service-ready.
Confirm the direction of flow and whether the existing pipe can support the added valves without stress. Copper, PEX, CPVC, and older mixed plumbing call for different fittings and support. The installer should also consider a pressure regulator, check valve, expansion tank, private-well pressure tank, and any outdoor branches that should remain untreated.
Measure the space with valves and service tools in mind, not only the tank diameter. Photograph the intended location and mark the main shutoff, nearby drain used by other equipment, outlet locations, and the line to the water heater. Those photos make a remote installation review much more useful.
Verify Startup Instead of Assuming It
After the 48-hour soak, startup should follow the current manual in order. Bring water into the system slowly, purge air as directed, and inspect every connection under full pressure. Sudden pressurization can create confusing air, noise, or leak symptoms that have nothing to do with conditioning performance.
Record the starting pressure and flow at one repeatable fixture. Clean an existing scaled fixture so future deposits can be compared fairly. Salt-free conditioning does not remove hardness from the test result, so do not use a hardness strip after installation as a pass-or-fail test for the media.
Check the bypass position again after the installer leaves. A partially open bypass can mix untreated and treated water, while a closed valve can reduce flow. Label the valve positions so another household member does not change them by accident.
Match the Installation to the Household
A small household with city water, stable pressure, and modest simultaneous use has a different installation than a large home on a private well. The absence of power and a drain makes OnliSoft easier to place, but it does not replace flow sizing or a source-water review.
Ask what happens during irrigation, guest visits, and laundry days. If an untreated outside line is planned, confirm where it branches. If the home has a recirculation loop, booster pump, or fire-suppression connection, make sure the installer understands the complete layout before changing the main line.
The clean decision is to confirm five things before ordering: water chemistry, pipe size, peak flow, service space, and installer responsibility. When those are documented, the no-drain and no-power benefits become practical instead of just a feature list.
No right way or wrong way on who performs the installation. The non-negotiable part is following the model instructions and verifying the home's real water and flow conditions.
Frequently Asked Questions
Does a salt-free water conditioner need a drain?
OnliSoft does not need a regeneration drain because it does not run a salt-regeneration cycle. Follow the current manual for startup, bypass, and installation details.
Does OnliSoft need an electrical outlet?
No. OnliSoft does not use an electrical control head. The plumbing still needs correct sizing, a stable location, service clearance, and a bypass.
Do I need salt for a salt-free conditioner?
No. A salt-free conditioner does not use a brine tank or salt. It controls scale behavior rather than removing hardness minerals through ion exchange.
Why does the media need to soak for 48 hours?
The product instructions call for a 48-hour initial media soak before normal service. Plan that time into the installation instead of shortening the startup step.
What maintenance does a salt-free conditioner need?
The conditioning tank is not a salt-refill item, but the sediment prefilter needs inspection and cartridge replacement based on the model instructions, pressure, and incoming water.
Confirm the Installation Before Ordering
Review the current OnliSoft specifications, then confirm your main-line size, pressure, peak flow, water test, service clearance, and 48-hour startup window with the installer.





0 comments